
To set up push notifications you need to create OneSignal & Firebase accounts first.
Please follow the steps below.
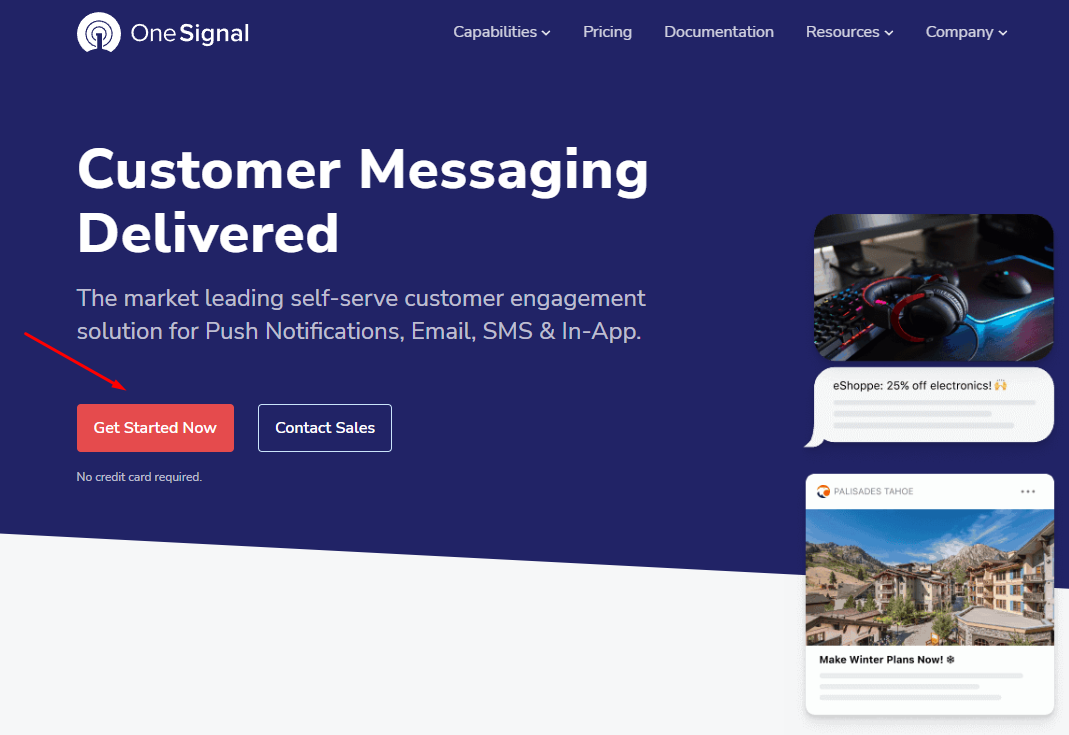
- To create your free OneSignal account, head over to https://onesignal.com and click “Get Started Now”:
- Fill in the form with your email and password, or sign up via social network you prefer:

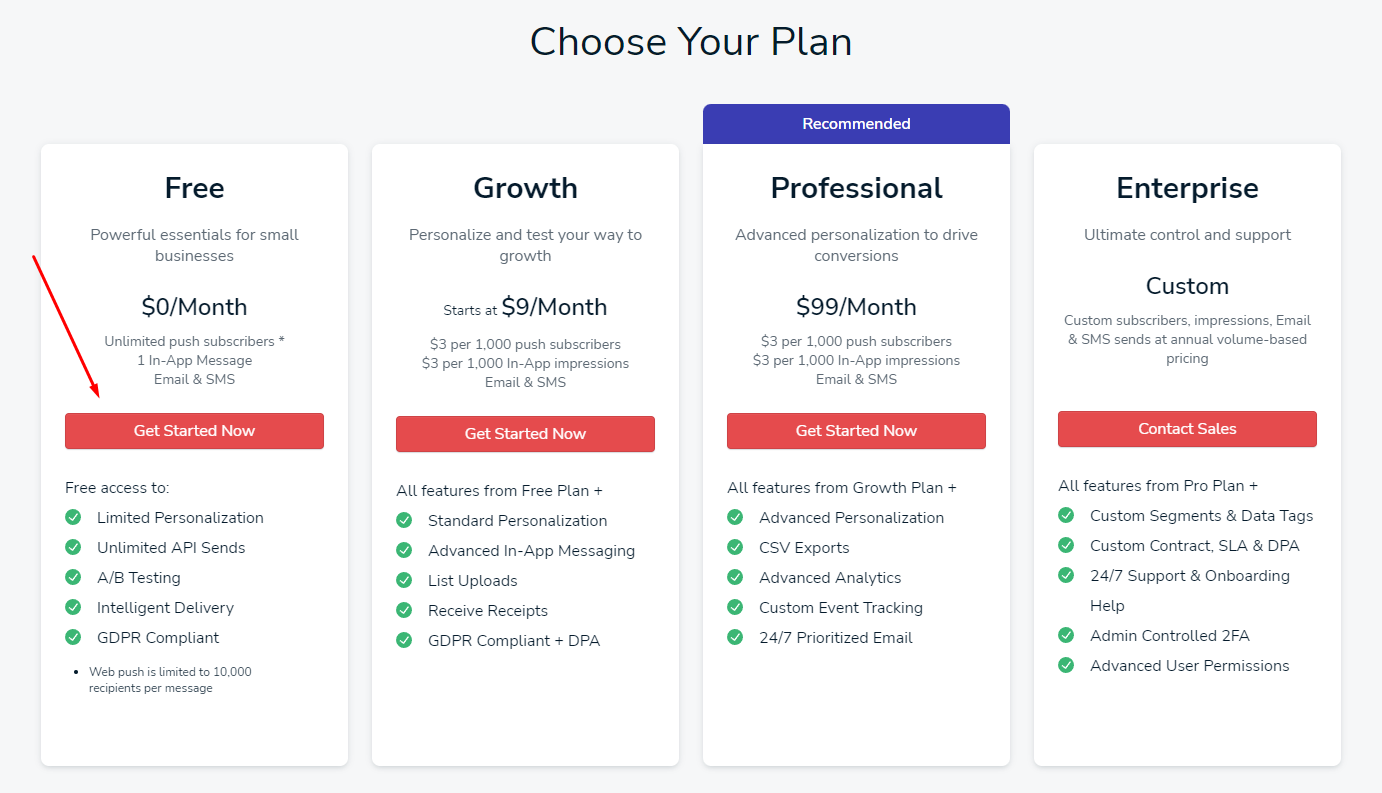
- Click "Get Started Now" under Free plan:
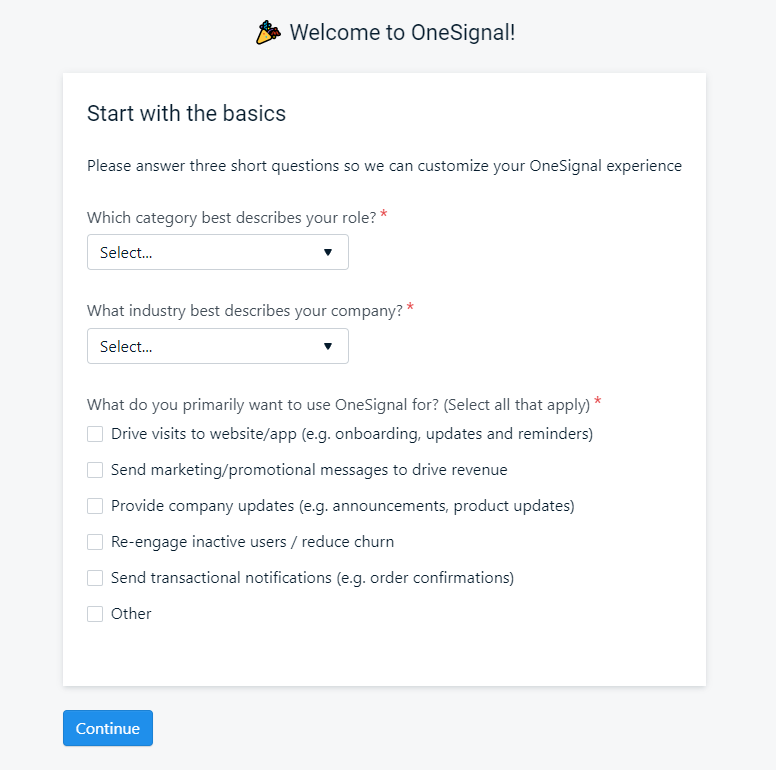
- Answer a short questionnaire and click "Continue":
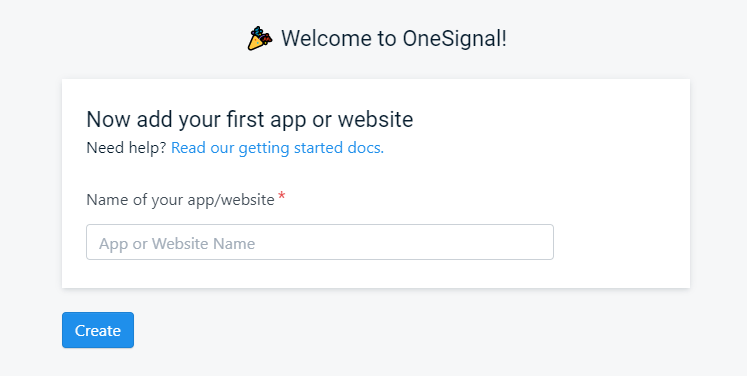
- Enter the name of the app you're doing the setup for and click "Create":
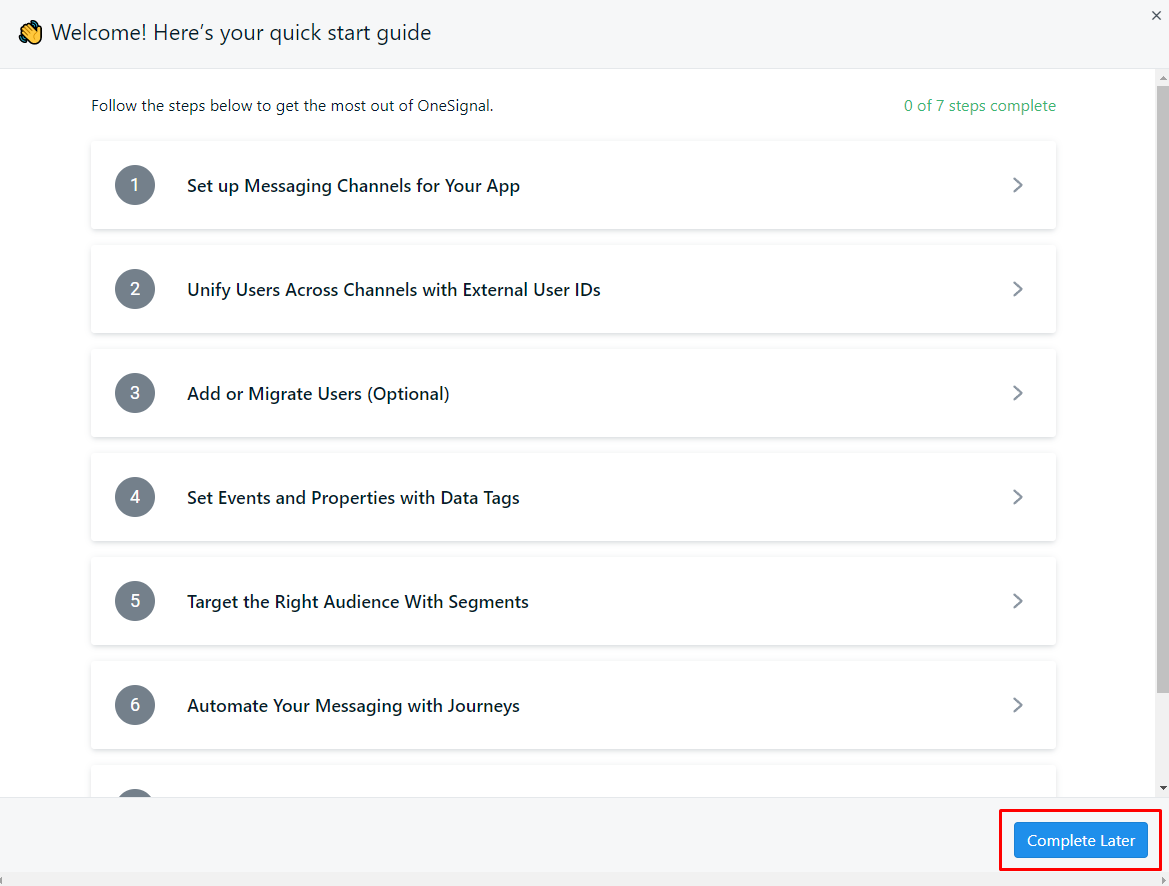
- Click "Complete Later" on the start guide screen:
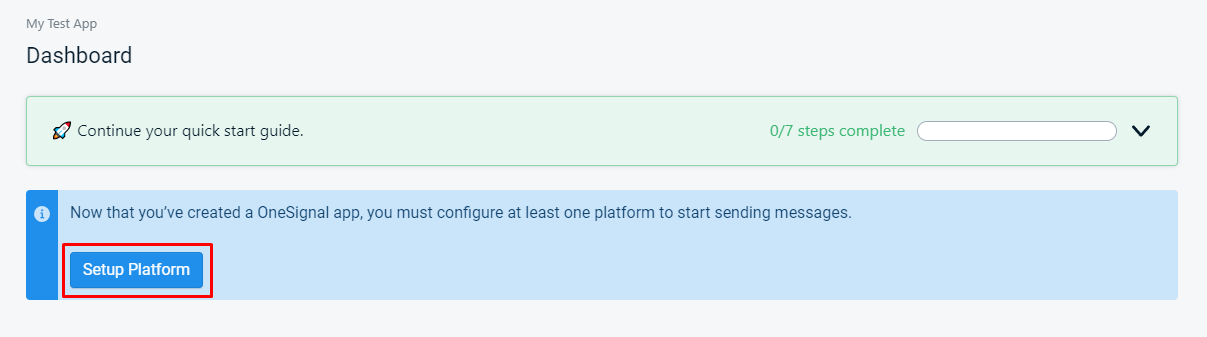
- Click "Setup platform":
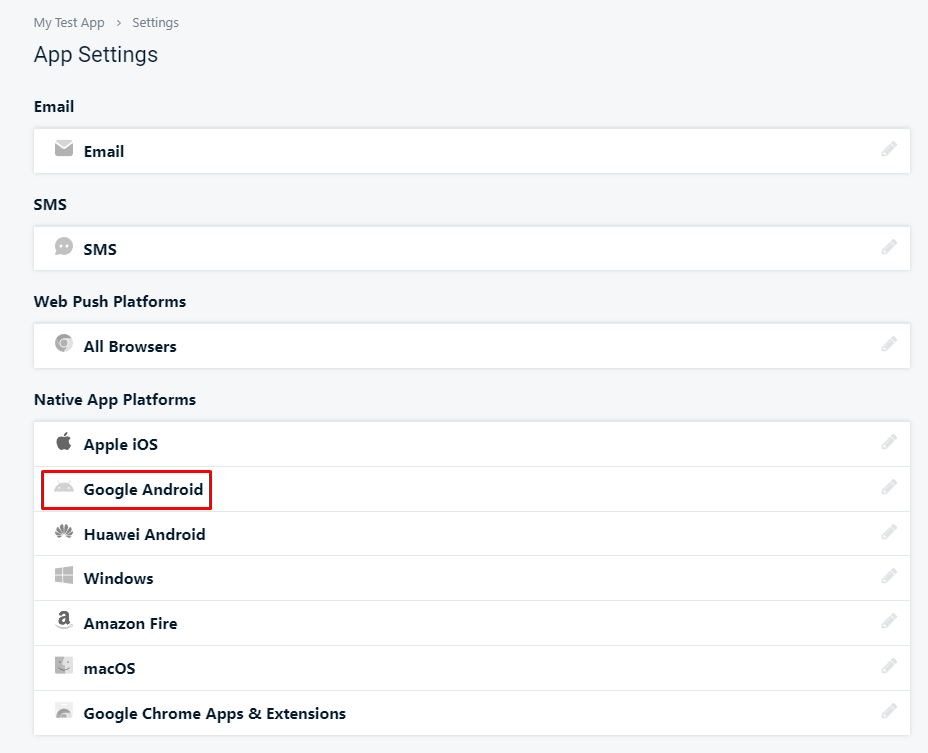
- Next, select "Google Android" as your platform:
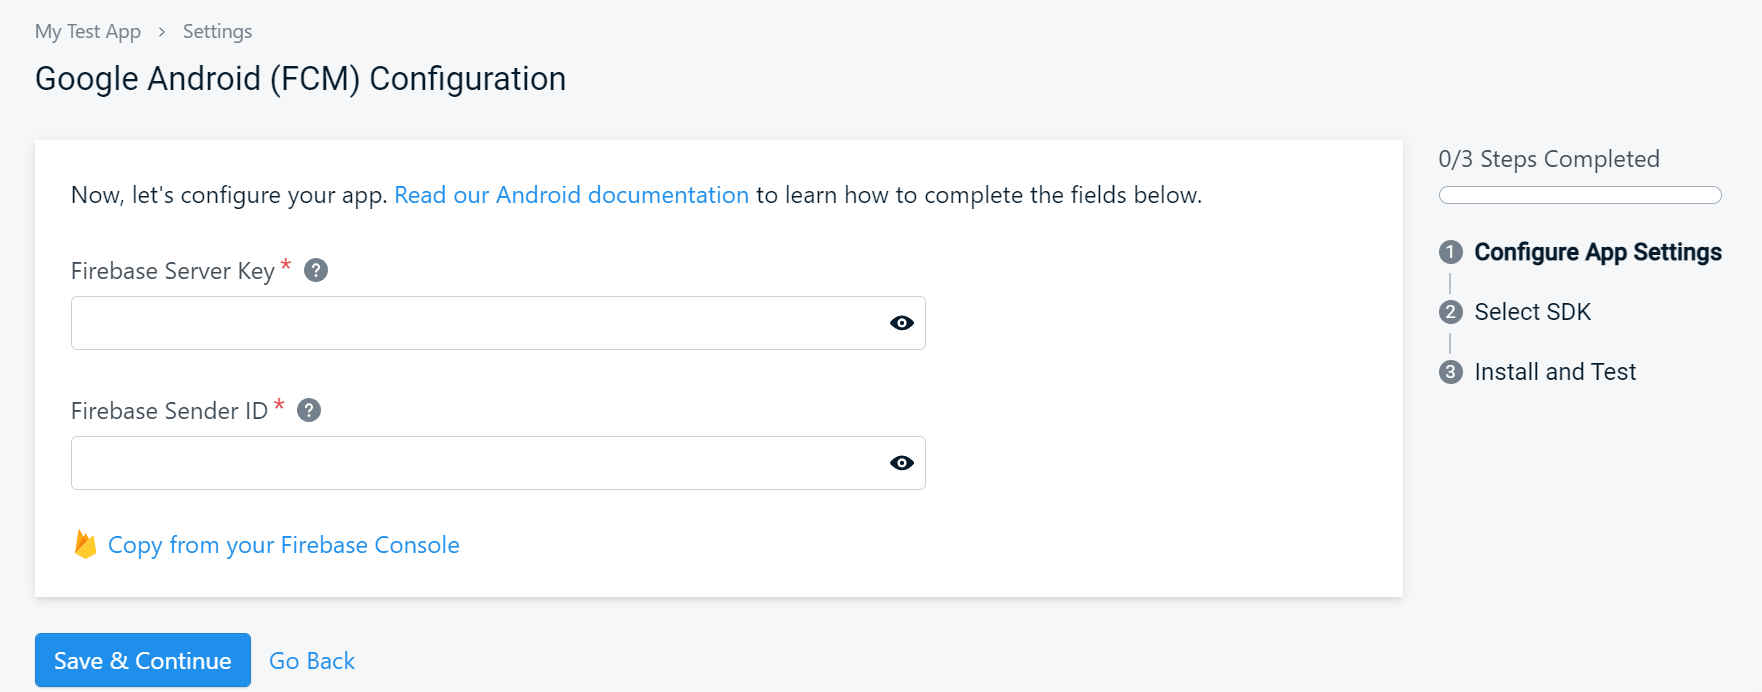
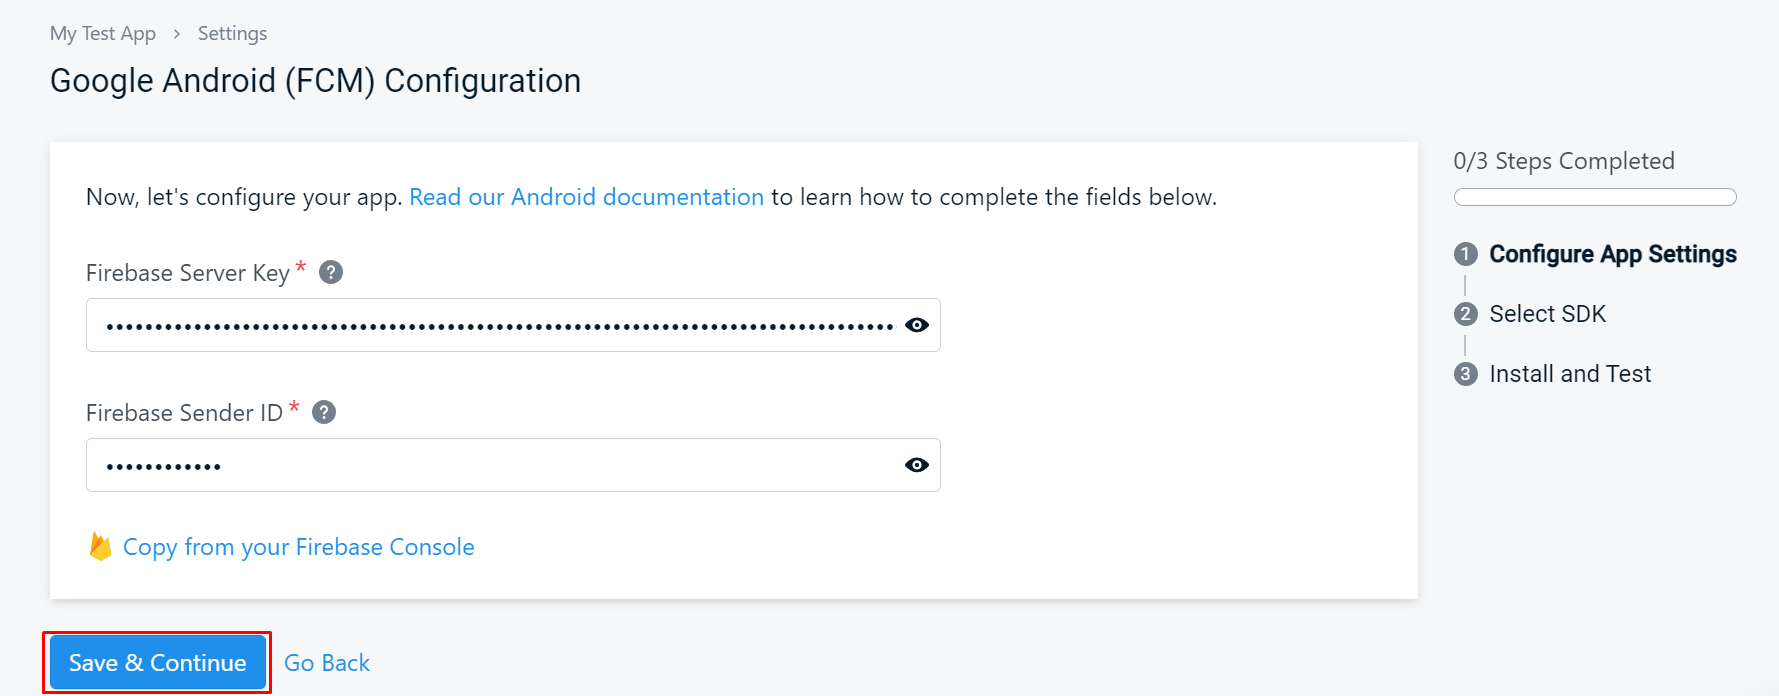
- You'll see two fields for Firebase Server Key and Sender ID on the next screen:
Now you'll need to create Firebase account and get Server Key and ID from there. Please go to https://console.firebase.google.com/, log in to your Google account (or create a new one if needed) and click "Create a project":
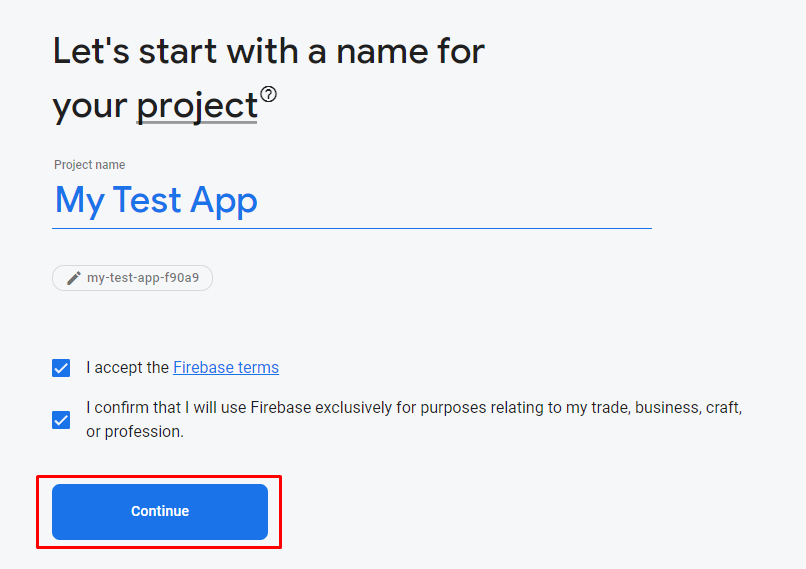
- Next, enter your project name (we recommend using app name from step 5), accept the terms and click "Continue":
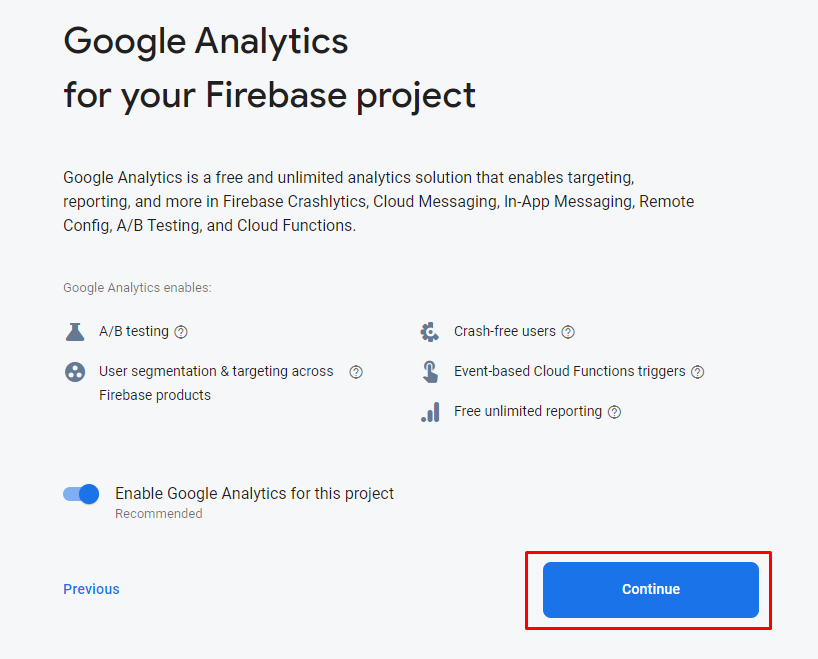
- Click "Continue" on the next screen:
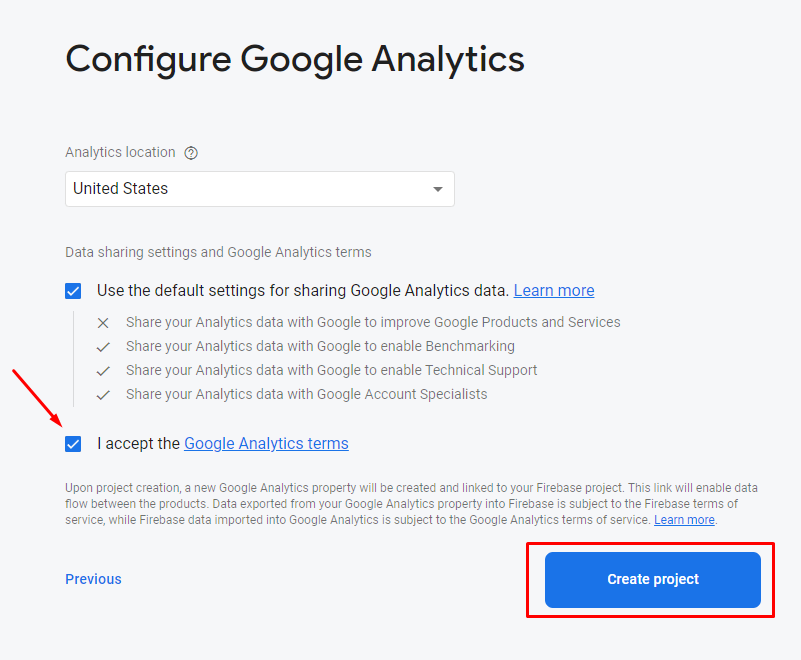
- Check the box "I accept the Google Analytics terms" and click "Create project":
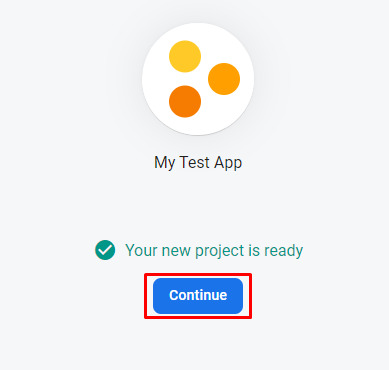
- Now wait a bit while your project is being created, then click "Continue":
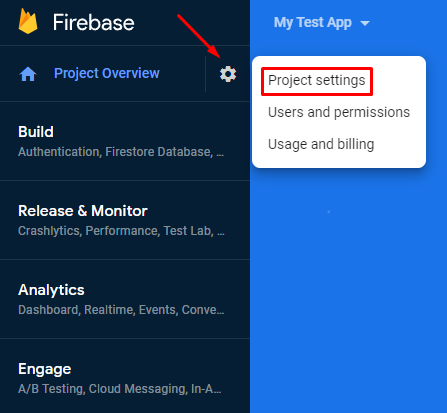
- Click on Settings button in the left menu, then select "Project settings":
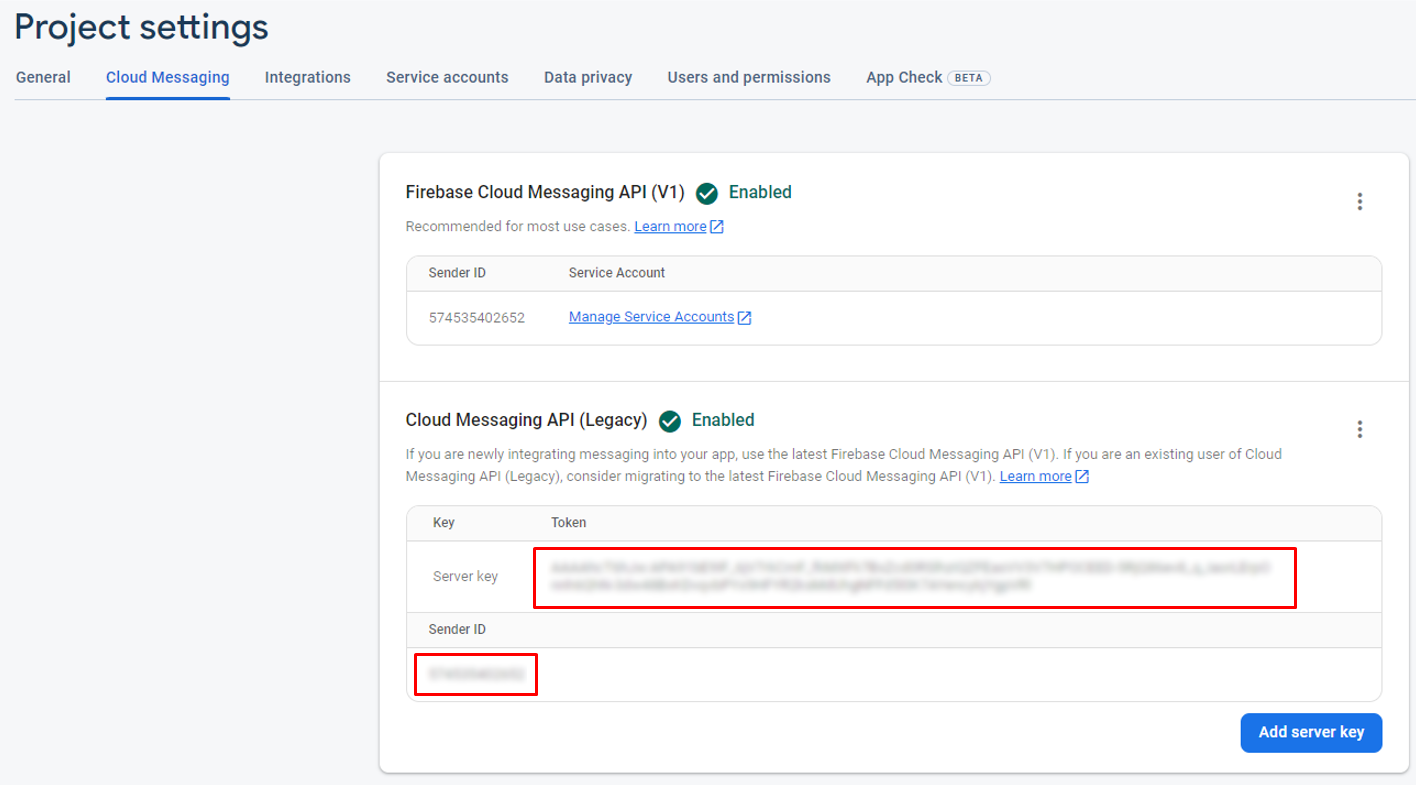
- Select "Cloud Messaging". On this page we're only interested in two things - Server key and Sender ID. These will allow OneSignal to communicate with Firebase in order to send push notifications. Please copy them and paste into the OneSignal fields from the step 9, then click "Save & Continue":
- Next, select "Native Android" as your target SDK and click "Save & Continue":

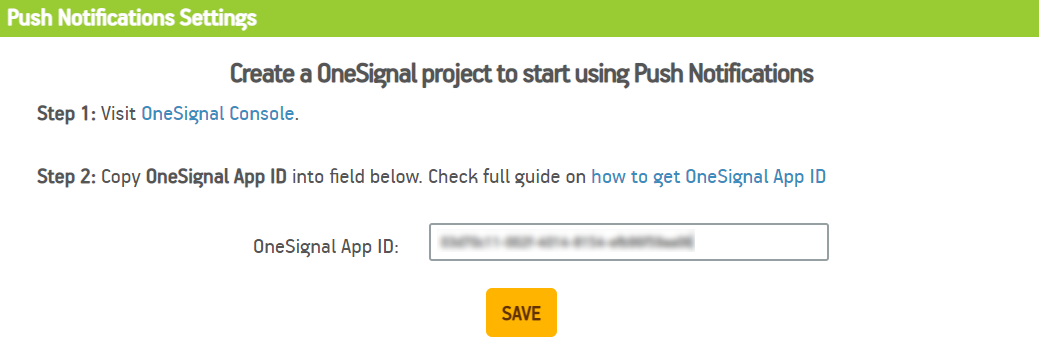
- Almost done! All that's left to do is copy App ID, paste it to OneSignal App ID field in Push section of AppsGeyser Dashboard and click "Save":

Done!
Now you can send push notifications to your app users.